
5. eCivis#
A cheat sheet to assist you in applying online and managing your approved project
5.1. Background#
CAL FIRE uses an online system called eCivis to receive applications and administer grants. You will use this system to apply for a CAL FIRE grant and manage and report on that grant if your application is successful.
The following information covers two stages at which you will use eCivis: The proposal stage, during which you will create a profile and submit all proposal materials, and the post-award stage, during which you will manage your project and use eCivis to submit Activity and Financial Reports.
It is important to note that this guide is meant to be used in conjunction with the Business & Workforce Development resources provided on CAL FIRE’s Wood Products and Bioenergy website and eCivis-specific materials. In particular, the Grants Portal Application Submittal User Guide and the eCivis Grants Portal Applicant Troubleshooting Guide.
5.2. Proposal Stage#
Access the eCivis portal for the Business & Workforce Development Grant Program through the link in the CAL FIRE guidelines for the solicitation (Fig. 5.1). Note that this link is updated for each solicitation, so we are not including it here. For the Wood Products and Bioenergy Program, the solicitation guidelines are posted on the right side of the page under ‘RECENT UPDATES’. It is important to create your account using the link in the grant guidelines. This will ensure you access the correct website and create an application in the correct solicitation window. Your account will be used for your application and to administer your grant, should your application be awarded funding.
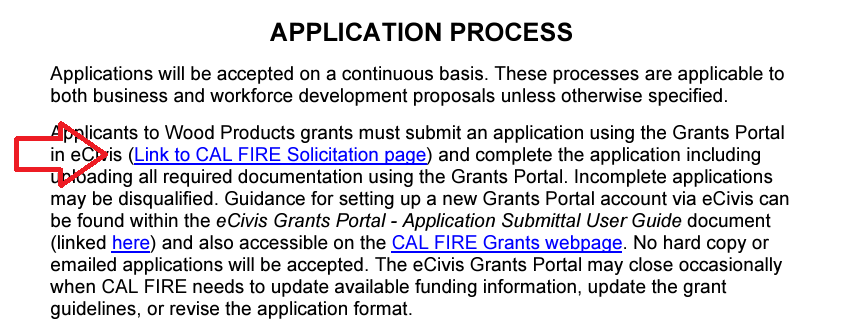
Fig. 5.1 Application process.#
Clicking the link in the first sentence of Fig. 5.1 takes you to a landing page with summary information about the solicitation (Fig. 5.2). Before beginning your application in eCivis, download all the required forms and templates you will fill out and upload as part of your complete application (e.g., Work Plan and Environmental Compliance Worksheet, State of California Payee Data Record, Non-Discrimination Compliance Statement). These are provided on the Grantee Resources section of the Program website and at the Files tab on the far right of Fig. 5.2.
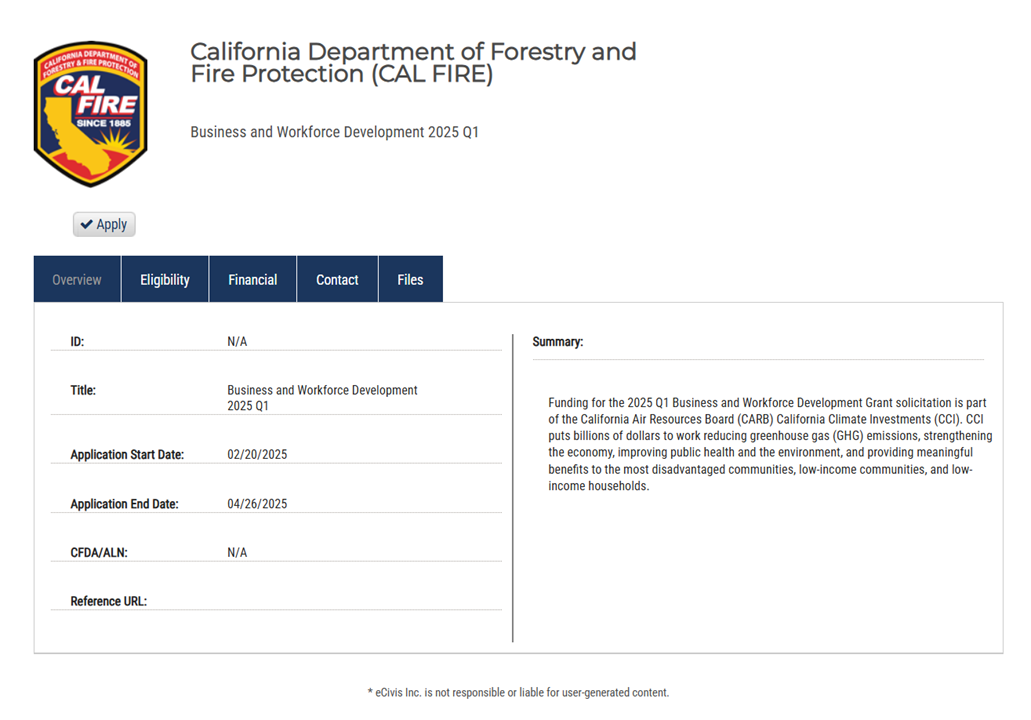
Fig. 5.2 Initial solicitation landing page.#
Click the Apply checkbox below the CAL FIRE logo, leading you to a login page (Fig. 5.3). Click Create an Account if you do not already have one, or log in if you do. Use the portal login.
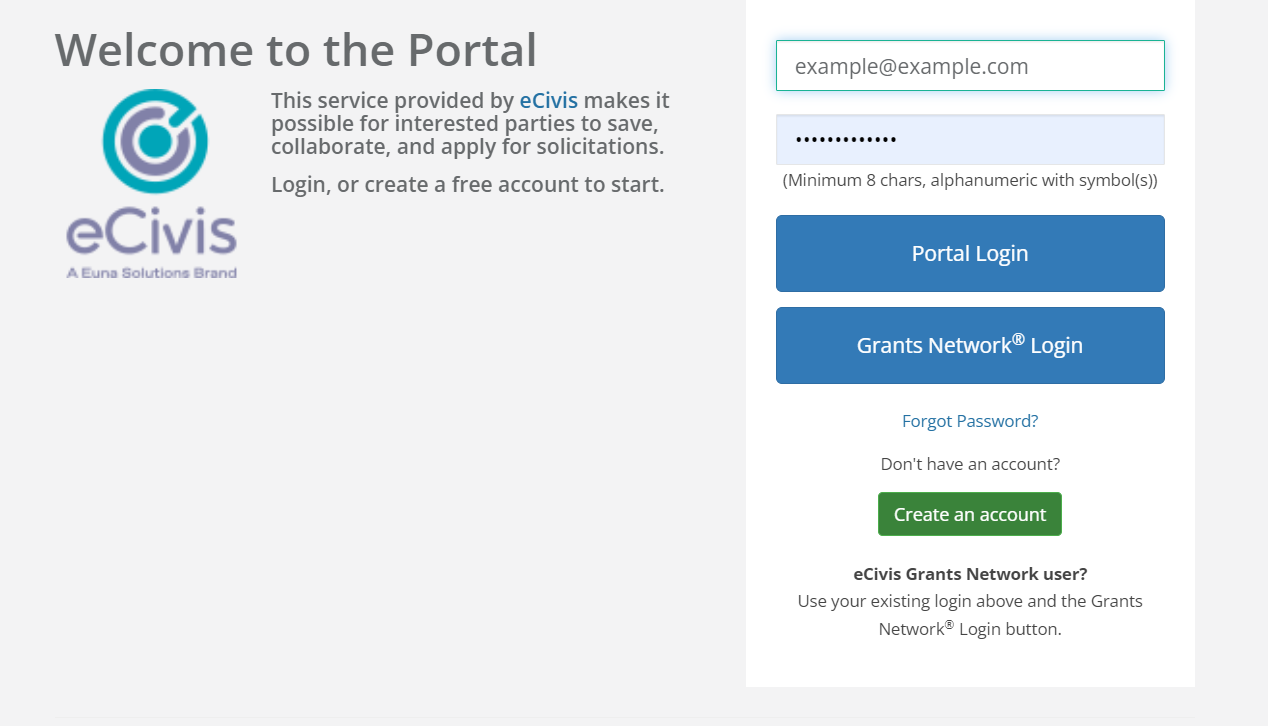
Fig. 5.3 eCivis system log-in page.#
This will lead you to the submission portal, where you can start a new application or continue working on a previously saved application (Fig. 5.4).
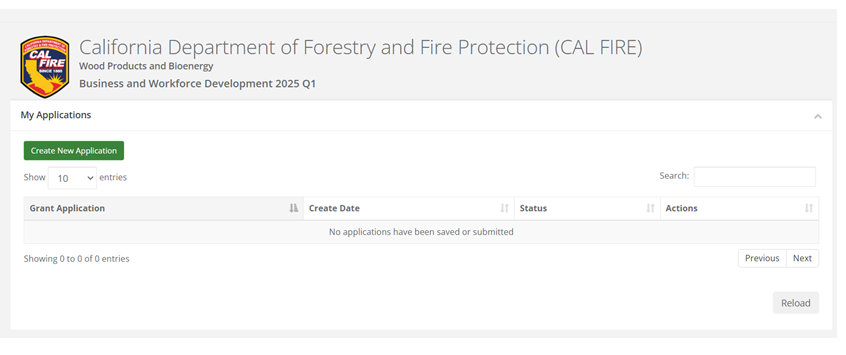
Fig. 5.4 The eCivis submission portal.#
Don’t forget to access and use the templates at the Forest Business Alliance website. FBA team members are available to assist you with this. Contact us at forestbusinessalliance@gmail.com if you have questions or need further assistance.
The Forest Business Alliance’s guidebook Chapter on project and proposal development would be helpful at this stage for organizing your proposal narrative and budget development workflow. Before you start a proposal, review the chapter to establish how your proposed project fits into your business or strategic plan.
Follow the process in the Grants Portal Application Submittal User Guide, which will take you step-by-step through creating an account and completing an application.
5.3. eCivis Budget Tips#
Use the budget template on the FBA template page to develop your project budget. As you complete the Detailed Budget worksheet (step 3 in the template), the template will automatically populate a worksheet (Output B. eCivis Upload) that can be used to complete the eCivis budget form. FBA created the template to make it as easy as possible to go from calculating a budget in Excel to filling out the eCivis form.
Please refer to the project/proposal chapter of the FBA guide for tips on developing your budget and the relationship between budget and scope development.
If you are applying on behalf of a non-profit or Tribe, you may be able to charge indirect costs. Other types of applicants, e.g., businesses, cannot charge indirect costs. If you have questions about indirect costs or how to include them in your grant budget, refer to the grant solicitation guidelines and the eCivis template.
Project budgets in eCivis are shown in categories such as Salaries & Wages, Contractual, Travel & Per diem, Equipment, Other Costs, Indirect Cost. To enter budget items into each category, click on the category name (e.g., Salaries & Wages), which will bring up additional boxes to fill in. Line items automatically calculate the unit and unit cost the first time you enter them. However, the line item will not automatically update if you change one of these amounts. You will need to recalculate the Costs manually and, if applicable, the Cost Share.
Both extended and cost are calculated by multiplying units by unit cost and are not distinguished in eCivis.
Budget Narrative
The budget narrative is entered at the bottom of the budget page on eCivis.
It has a limit of 8,000 characters, which includes spaces.
You should create your narrative in Word and then cut and paste it into eCivis so that you have a record of the narrative you submitted. It cannot be downloaded from eCivis once submitted.
For guidance related to budget narrative content, please see the Forest Business Alliance Budget template.
Be specific about line items and your justification for including each in the budget for your narrative.
5.4. Post-award Stage#
The eCivis Grants Portal CAL FIRE Grantee User Guide provides an overview of all stages of post-award grant management through eCivis. If you have been awarded a Business and Workforce Development Grant, this document provides the basic steps you need to take, from accepting the grant award to adding team members to your online portal who will assist with reporting or invoicing and how to submit financial and activity reports.
5.4.1. Reporting#
CAL FIRE requires a minimum of quarterly reporting; however, you can invoice and report as often as monthly. Below is a description of the reporting process, followed by a description of the financial reporting.
Invoicing and reporting involve a three-step process:
Complete the online Progress Report Form. CAL FIRE will provide a template and guidance on this document as part of your onboarding process if you are awarded a grant.
Complete the Activity Report in eCivis (described below).
Complete the Financial Report in eCivis (described below).
5.4.2. Activity Reports#
Click on “My Awards” on the left side of the screen. A list of your awarded grants will appear. Under the “Actions” tab, you’ll see a button with three lines. Click it, and then click “Manage Award.” This will take you to your Award Dashboard.
Note
Note: The Activity Report must be completed in addition to the Progress Report Form, which you will submit online via Microsoft Forms.
There are two different ways to create and submit Activity Reports:
Locate the Activity Report due under Pending Tasks and click the button with three lines, then click “Create Activity Report.” (Fig. 5.5). This will take you to the Activity Report page, where you will enter the reporting period, narrative, and metrics and upload any deliverables for the reporting period.
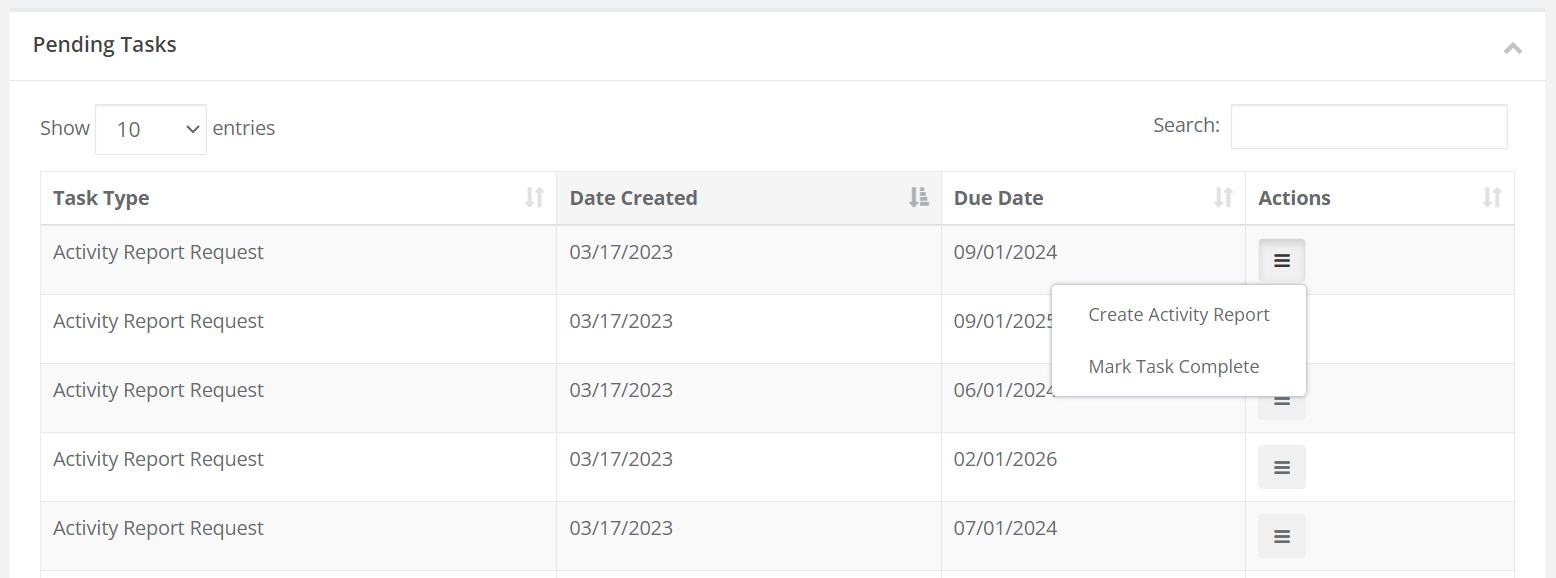
Fig. 5.5 Option 1 for creating and submitting an Activity Report is to access it under Pending Tasks on the Award Dashboard page on eCivis.#
OR
Look for the “Submit Activity Report” button (in green) at the top of the Award Dashboard (Fig. 5.6). Either enter the due date of the pending Activity Report or click “Continue with New Report.” Either option will take you to the Activity Report page. Enter the Reporting Period, Report Narrative, and Activity Report Metrics. Leave the metrics section blank if you have not completed any goals or objectives during the reporting period. Upload any deliverables at the bottom of the page. If you are ready to submit, click the red “Submit Report” button. You cannot undo submitting the report, so only click this button if the report is final. If you want to save the report as a draft and return to it, click the blue “Save & Close” button. If you have saved a draft, you can access it again in the “Award Activities” section.

Fig. 5.6 Option 2 for creating and submitting an Activity Report is to click on the green button that says “Submit Activity Report.”#
5.4.3. Financial Reports#
A Progress Report and Activity Report must accompany financial reports. At the outset of your project, it’s important to consider your needs regarding invoicing, as this will impact the frequency of all of your reporting. For example, if you submit monthly invoices, you must also submit Progress Reports and Activity Reports.
A helpful first step in financial report preparation is to review your current project budget totals, which can be seen by clicking on the blue “View Budget” button from the Award Dashboard page (Fig. 5.6). If you want an Excel version of the information, click the small Excel icon at the top of the page next to “Actions.”
When submitting an invoice to CAL FIRE, you must prepare and sign the CAL FIRE Invoice Form (provided upon grant award; an example can be found here). You will save and submit this as a standalone one-page PDF file. Additionally, you will be required to prepare a separate PDF file packet for each Budget Item listed on your CAL FIRE Invoice Form for which you are requesting payment.
These PDF file packets contain invoicing backup documentation for your expenditure reimbursements, plus any receipts or pertinent supporting information that should accompany it. CAL FIRE requests that the file names correspond to the Budget Item category. It’s also helpful to include your invoice number, such as “CONTRACTUAL – INV-07” or “TRAVEL – PMT-01.” For example, your PDF file “CONTRACTUAL – INV-07” invoice packet will contain all invoices and reimbursement requests for the invoicing period that fall under the Contractual category of your project budget. In the Financial Report Files section, these file packets will be uploaded as individual sets of documents to eCivis. Note that you do not need to submit supporting documentation when reporting your matching contributions; however, you should keep it for your records in the event of an audit.
When you are ready to submit your Financial Report, click on the green “Submit Financial Report” button on the Award Dashboard, and then click “Continue with New Report” when prompted.
Your Financial Overview totals are displayed in the top section (Fig. 5.7).
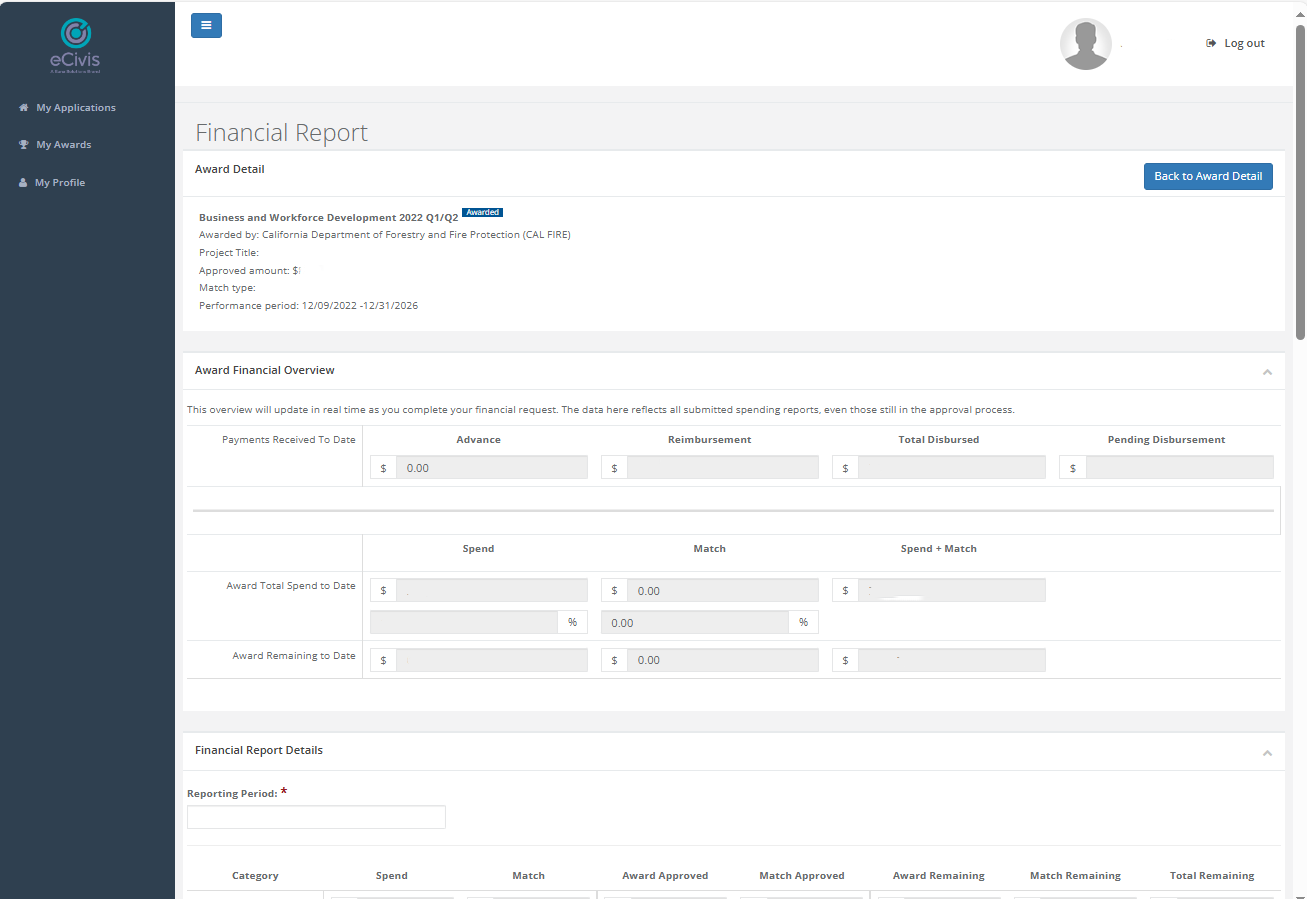
Fig. 5.7 Financial overview. Note that amounts have been redacted for privacy reasons.#
Below that, enter the reporting period for your reimbursement. This Reporting Period should match the Invoice Period you entered on your CAL FIRE Invoice Form. The Invoice Period must include all dates mentioned in all parts of your invoice. For example, if a person submits reimbursement for a receipt dated January 19, the Invoice Period must include January 19. It is reasonable to expect these invoicing periods to overlap from invoice to invoice.
The items below the Financial Report Details heading describe the different budget categories of your award (Fig. 5.8). These items correspond to the Budget Items in your Project Budget and your CAL FIRE Invoice Form. In the Financial Report Details section, for each Category/Budget Item listed, you will enter all reimbursements you request during the Invoicing Period.
Your budget category file packets may likely contain multiple invoice activity requests. Each activity request should be entered on a separate line under the appropriate category. For multiple invoice activities, click the plus sign (+) to the right of the Description cell to add a row. If extra rows were added but not needed, these rows should be deleted by clicking on the minus sign (-).
Pages 32-33 of the eCivis Grants Portal CAL FIRE Grantee User Guide explains how to complete the GL Code/Activity and Description cells.
The bottom line, Report Total, will automatically tally your entered figures. This total should match the total on your CAL FIRE Invoice Form.
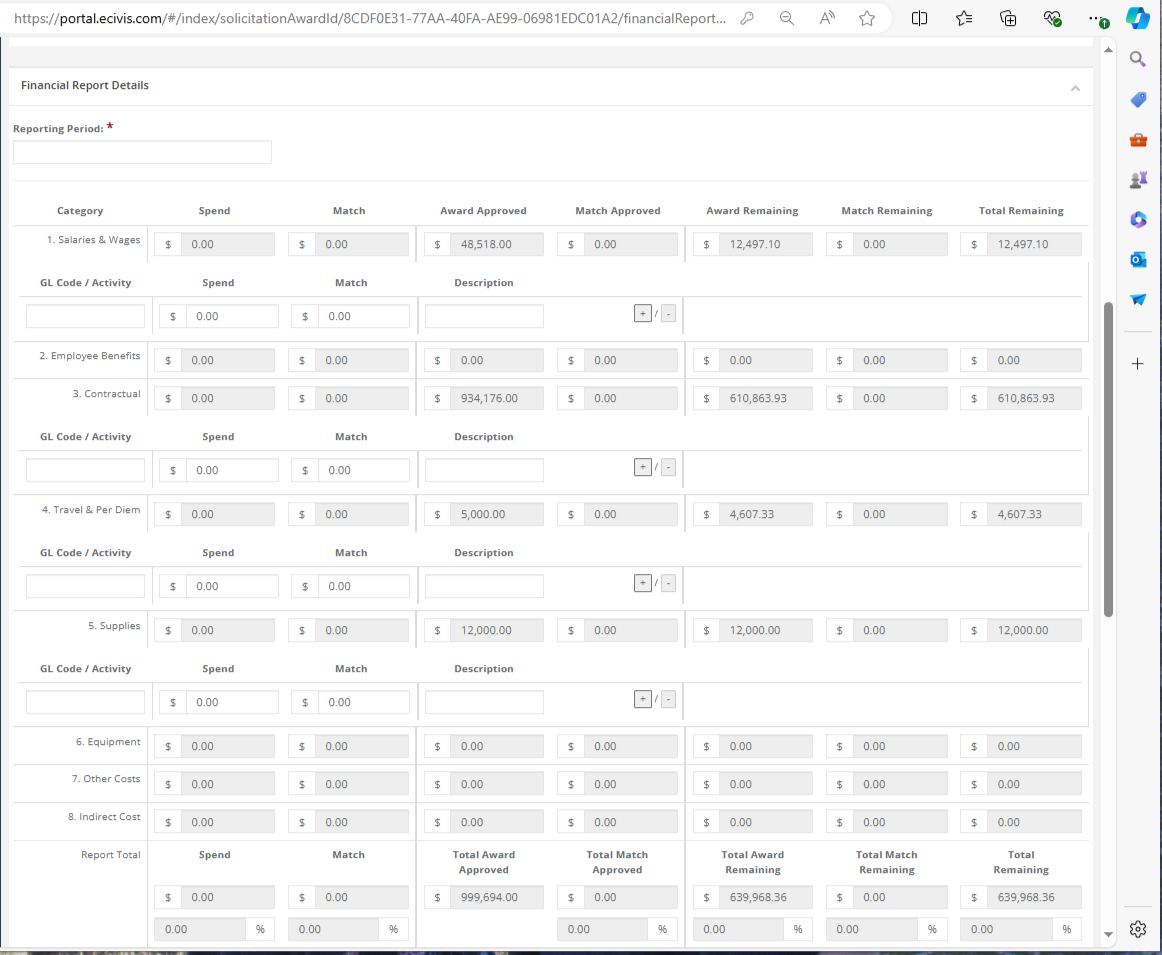
Fig. 5.8 Financial report details#
For reimbursement requests, the box next to “Reimbursement Request” must be checked for the submittal to go through. The Financial Report Narrative is marked as mandatory, but it is unnecessary to enter extensive text here if there is nothing to report (Fig. 5.9). A short sentence, such as “Activity Report submitted separately,” will suffice.

Fig. 5.9 Budget narrative.#
The bottom section, “Financial Report Files,” is where you will upload your invoice file packets along with the CAL FIRE Invoice Form by clicking the green Upload File button and selecting the appropriate files from your computer. Once all files are successfully uploaded and all data correctly entered, click the red Submit Report button to submit your reimbursement request to CAL FIRE.
If you have any questions, please don’t hesitate to get in touch at forestbusinessalliance@gmail.com.